
环境:
Python 3.5.2
Django 1.8.2
一、在Anaconda建立polls的虚拟环境。然后激活它。使用pip install Django==1.8.2 安装Django。
二、创建项目及应用
django-admin startproject mysite
cd mysite
python manage.py startapp polls
并将polls添加到setting.py的INSTALLED_APPS里面。
三、数据库
修改polls/models.py,加入models。
# Create your models here.
# 问题
class Question(models.Model):
    question_text = models.CharField(max_length=200)
    pub_date = models.DateTimeField('date published')

    def __unicode__(self):
        return self.question_text


# 选择
class Choice(models.Model):
    question = models.ForeignKey(Question)
    choice_text = models.CharField(max_length=200)
    votes = models.IntegerField(default=0)

    def __unicode__(self):
        return self.choice_text
并通过以下两条命令生成数据库。
python manage.py makemigrations polls
python manage.py migrate
四、后台
打开polls/admin.py文件,编写如下内容
from .models import Question, Choice


# Register your models here.
class ChoiceInline(admin.TabularInline):
    model = Choice
    extra = 3


class QuestionAdmin(admin.ModelAdmin):
    fieldsets = [
        (None,               {'fields': ['question_text']}),
        ('Date information', {'fields': ['pub_date'], 'classes': ['collapse']}),
    ]
    inlines = [ChoiceInline]
    list_display = ('question_text', 'pub_date')


admin.site.register(Choice)
admin.site.register(Question, QuestionAdmin)
再使用python manage.py createsuperuser设定后台的账号,密码,再运行python manage.py runserver
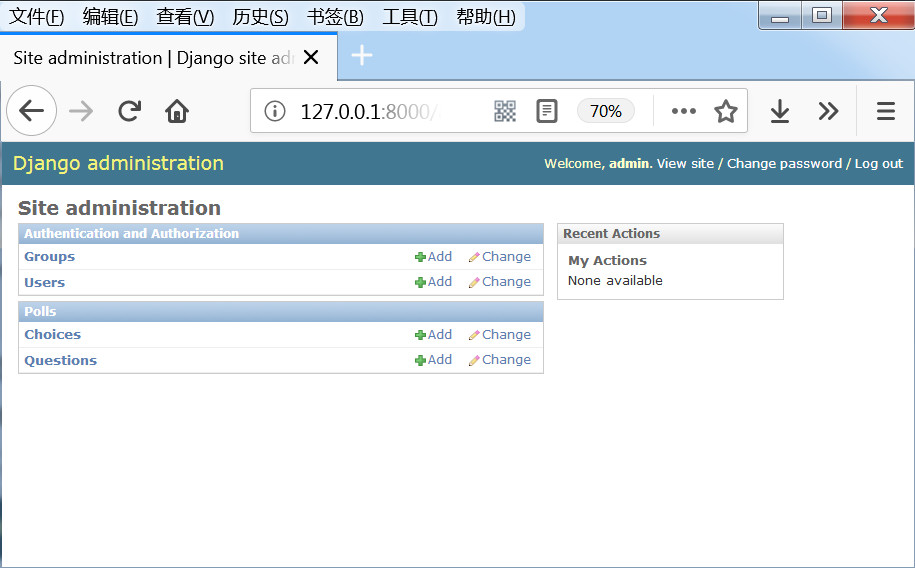
登录后台:http://127.0.0.1:8000/admin
点击question 后面的add,可以添加问题。
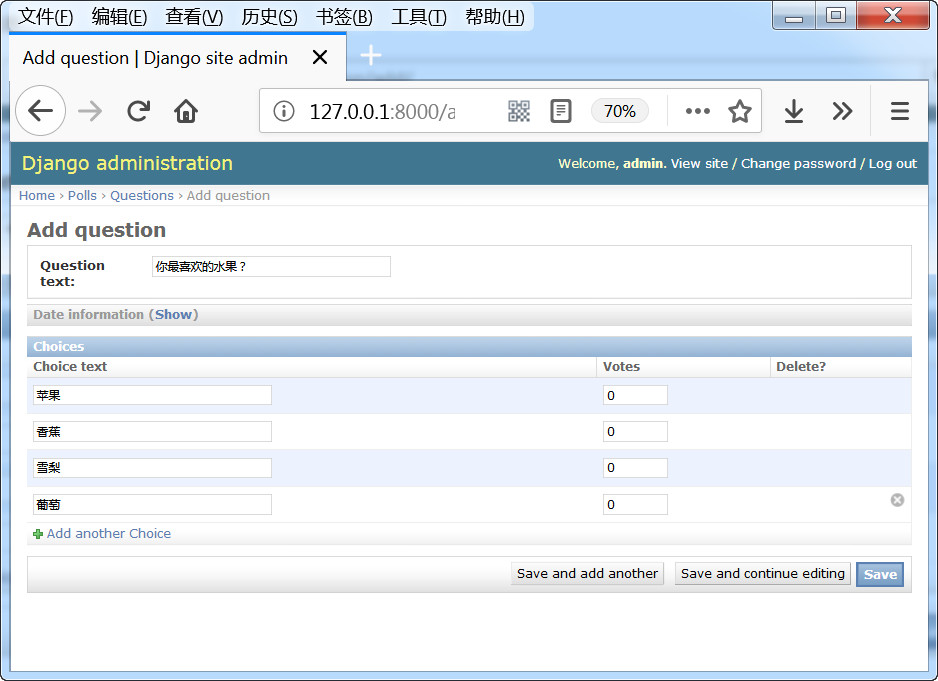
保存。
五、编写视图
编写polls/views.py文件:
# coding=utf-8
from django.shortcuts import render, get_object_or_404
from django.http import HttpResponseRedirect, HttpResponse
from django.core.urlresolvers import reverse
from .models import Question, Choice


# Create your views here.
# 首页展示所有问题
def index(request):
    # latest_question_list2 = Question.objects.order_by('-pub_data')[:2]
    latest_question_list = Question.objects.all()
    context = {'latest_question_list': latest_question_list}
    return render(request, 'polls/index.html', context)


# 查看所有问题
def detail(request, question_id):
    question = get_object_or_404(Question, pk=question_id)
    return render(request, 'polls/detail.html', {'question': question})


# 查看投票结果
def results(request, question_id):
    question = get_object_or_404(Question, pk=question_id)
    return render(request, 'polls/results.html', {'question': question})


# 选择投票
def vote(request, question_id):
    p = get_object_or_404(Question, pk=question_id)
    try:
        selected_choice = p.choice_set.get(pk=request.POST['choice'])
    except (KeyError, Choice.DoesNotExist):
        # Redisplay the question voting form.
        return render(request, 'polls/detail.html', {
            'question': p,
            'error_message': "You didn't select a choice.",
        })
    else:
        selected_choice.votes += 1
        selected_choice.save()
        # Always return an HttpResponseRedirect after successfully dealing
        # with POST data. This prevents data from being posted twice if a
        # user hits the Back button.
        return HttpResponseRedirect(reverse('polls:results', args=(p.id,)))
六、配置url
首先配置polls/urls.py(该文件需要创建)
from django.conf.urls import url
from . import views

urlpatterns = [
    # ex : /polls/
    url(r'^$', views.index, name='index'),
    # ex : /polls/5/
    url(r'^(?P<question_id>[0-9]+)/$', views.detail, name='detail'),
    # ex : /polls/5/results/
    url(r'^(?P<question_id>[0-9]+)/results/$', views.results, name='results'),
    # ex : /polls/5/vote
    url(r'^(?P<question_id>[0-9]+)/vote/$', views.vote, name='vote'),
]
接着,编辑mysite/urls.py文件。加入:
url(r'^polls/', include('polls.urls', namespace="polls")),
七、创建模板
首先创建polls/templates/polls/目录,分别在该目录下创建index.html、detail.html和results.html文件。
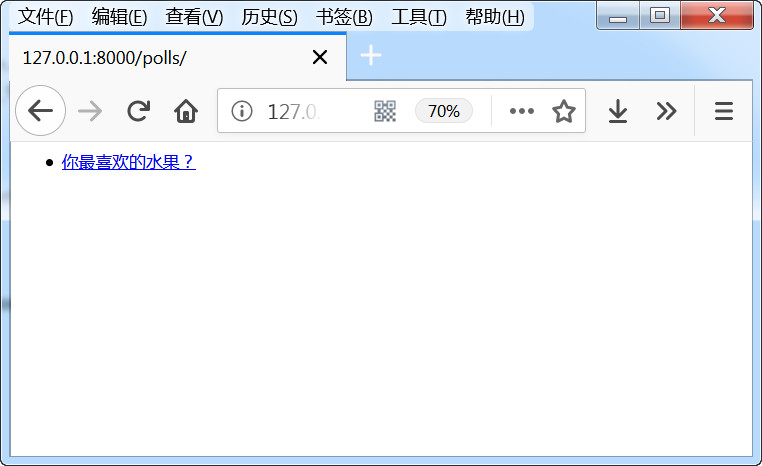
index.html
{% if latest_question_list %}
    <ul>
    {% for question in latest_question_list %}
        <li><a href="{% url 'polls:detail' question.id %}">{{ question.question_text }}</a></li>
    {% endfor %}
    </ul>
{% else %}
    <p>No polls are available.</p>
{% endif %}
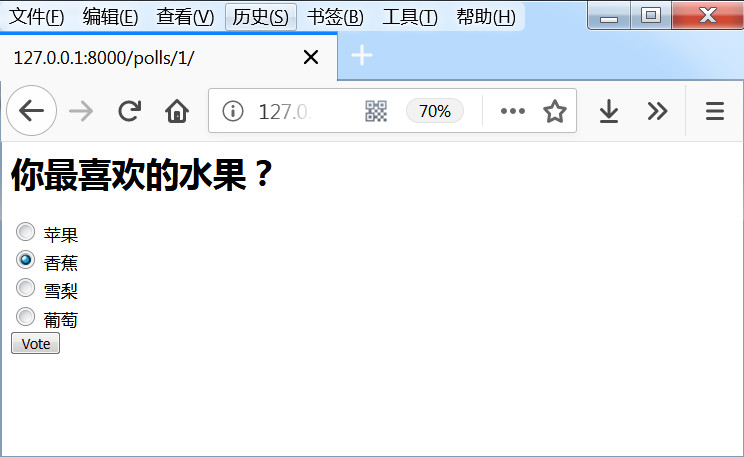
detail.html
<h1>{{ question.question_text }}</h1>

{% if error_message %}<p><strong>{{ error_message }}</strong></p>{% endif %}

<form action="{% url 'polls:vote' question.id %}" method="post">
{% csrf_token %}
{% for choice in question.choice_set.all %}
    <input type="radio" name="choice" id="choice{{ forloop.counter }}" value="{{ choice.id }}" />
    <label for="choice{{ forloop.counter }}">{{ choice.choice_text }}</label><br />
{% endfor %}
<input type="submit" value="Vote" />
</form>
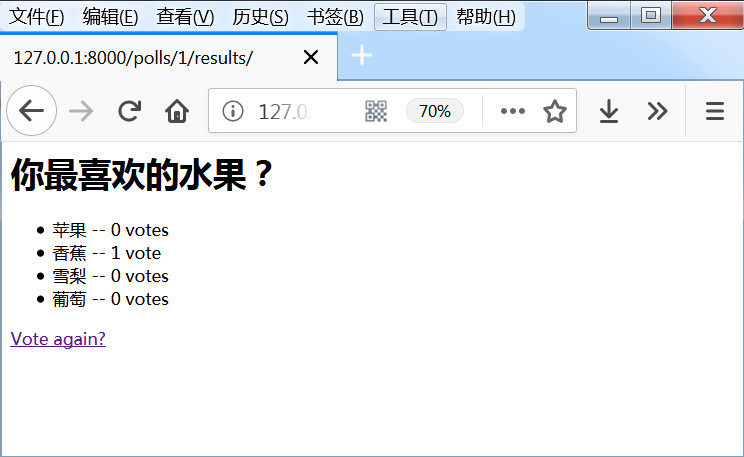
results.html
<h1>{{ question.question_text }}</h1>

<ul>
{% for choice in question.choice_set.all %}
    <li>{{ choice.choice_text }} -- {{ choice.votes }} vote{{ choice.votes|pluralize }}</li>
{% endfor %}
</ul>

<a href="{% url 'polls:detail' question.id %}">Vote again?</a>
pluralize使用形式:
{{value | pluralize}},或者{{value | pluralize:"es"}},或者{{value | pluralize:"y,ies"}}
意义:如果value不是1,则返回一个复数后缀,缺省的后缀是's'
八、功能展示
访问:http://127.0.0.1:8000/polls/
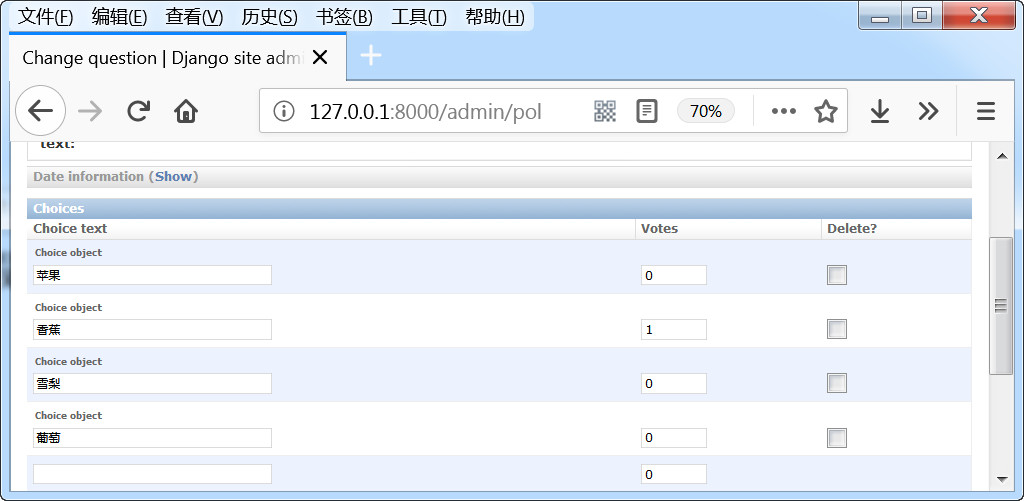
投票之后,可以发现后台的数据也有了变化。
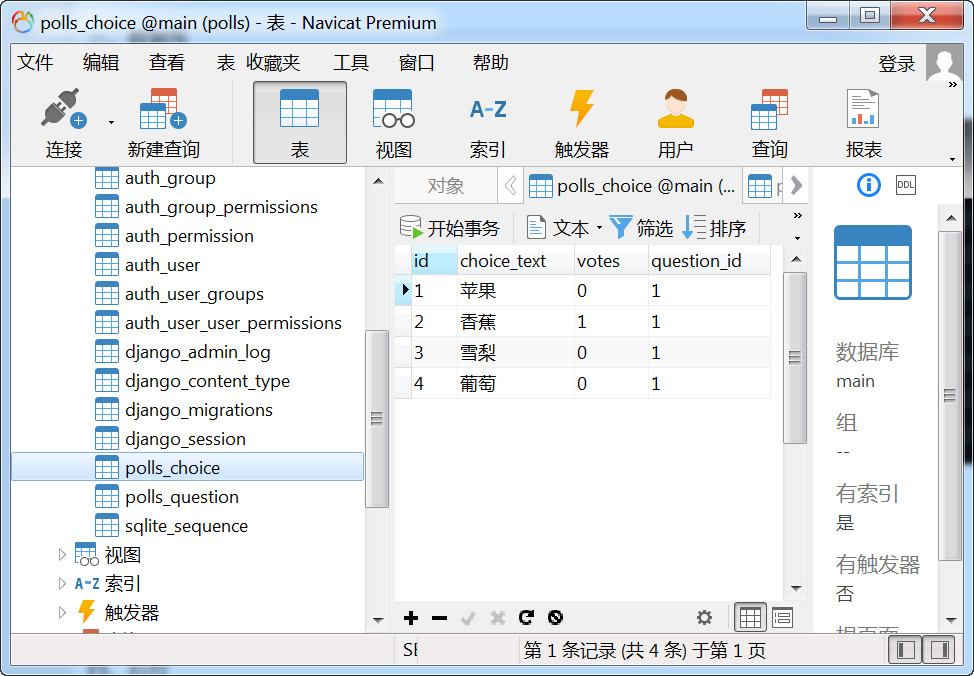
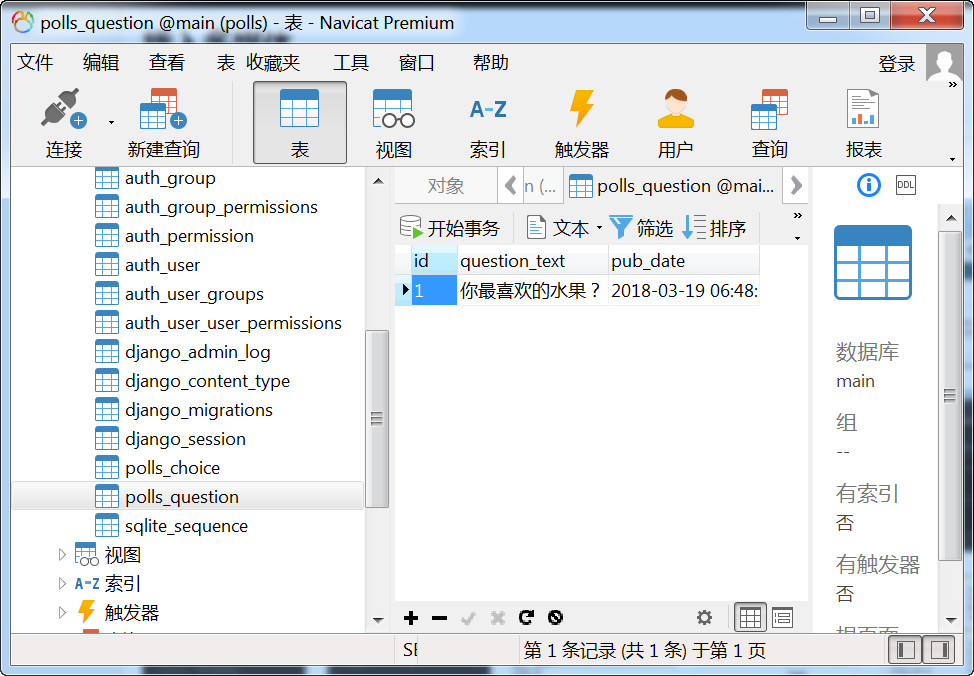
最后用Navicat看看数据表
九、知识点
我们将admin.py的两个class注释掉,只留以下代码:
from django.contrib import admin
from .models import Question, Choice

admin.site.register(Choice)
admin.site.register(Question)
到后台看,这里还是一样的:
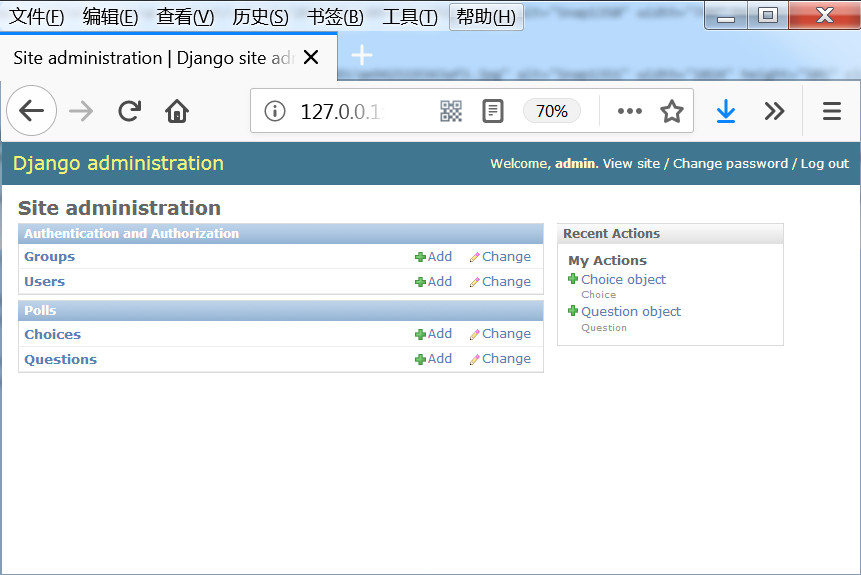
不过添加问题时,无法选择choice.
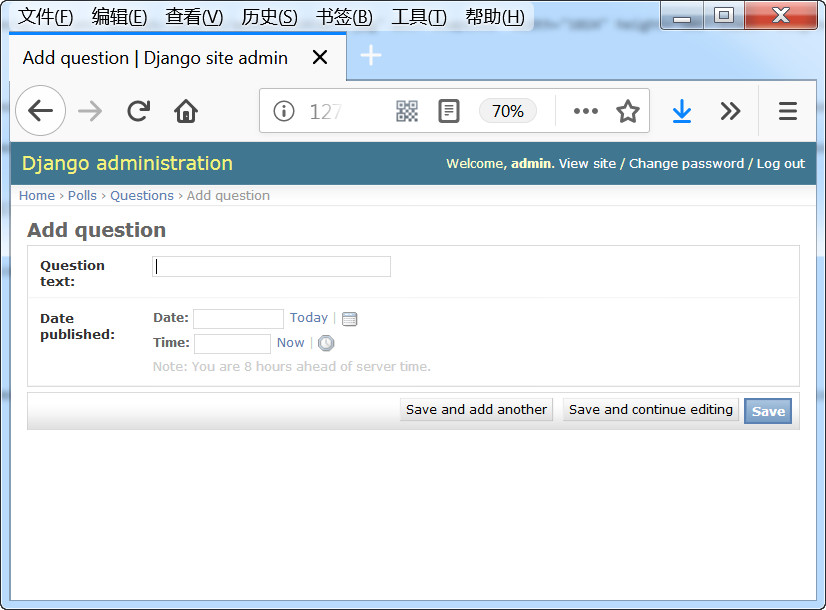
原来的界面是这样的:
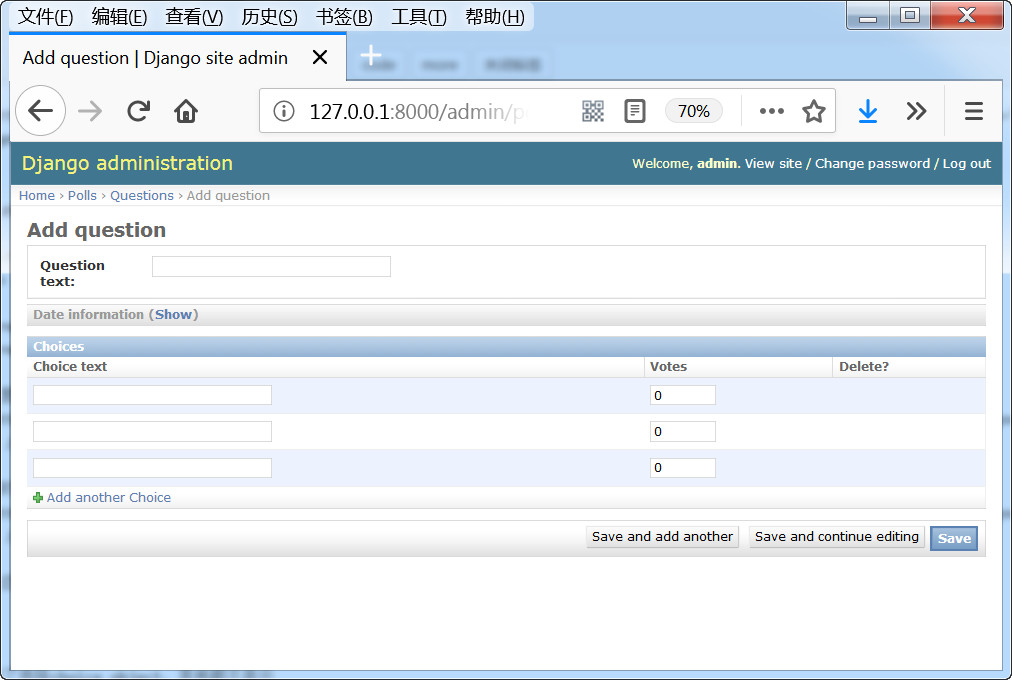
所以我们知道inlines = [ChoiceInline] 就是控制这里的。这个就是django的内联显示,让 ChoiceInline 附加在 QuestionAdmin 的编辑页面上显示。
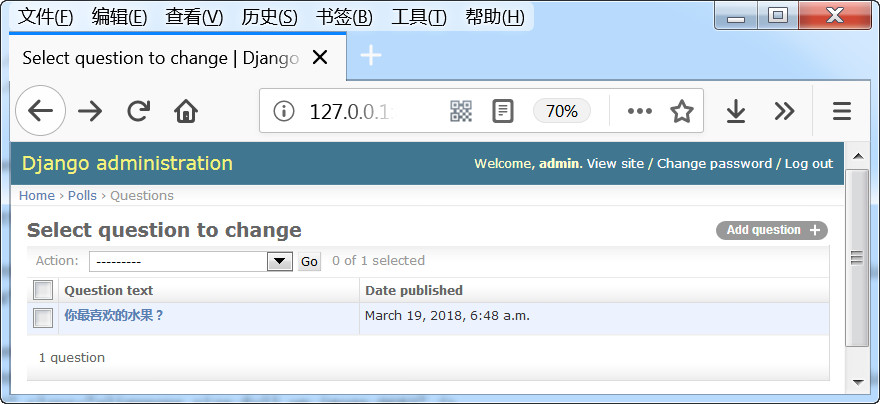
同时question除了选择question object,其他都不显示
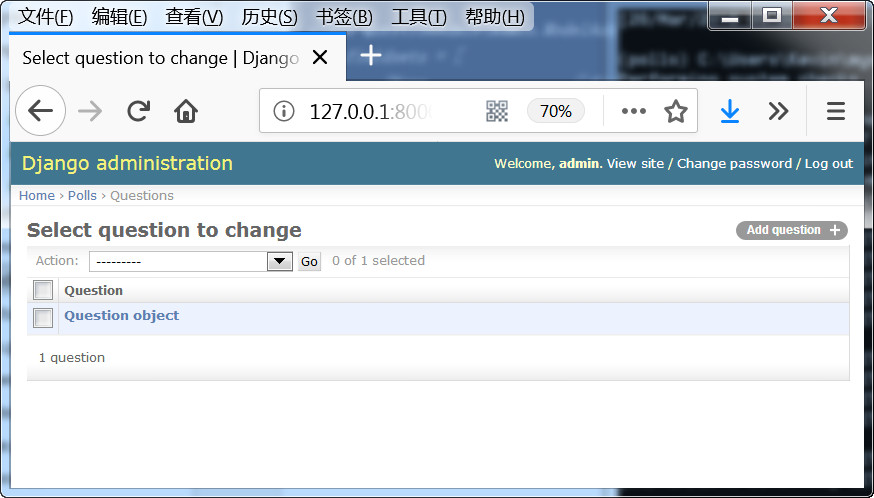
原来的界面是这样的:
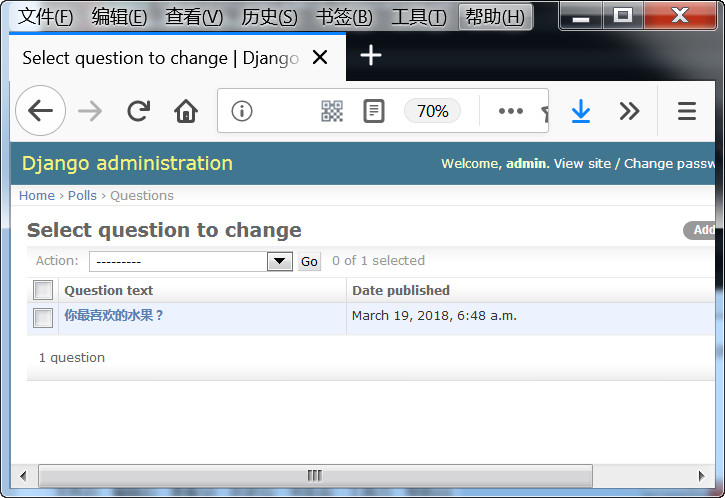
所以我们知道:list_display = ('question_text', 'pub_date') 这段代码就是控制这里显示的,通过它可在列表中显示更多的栏目。
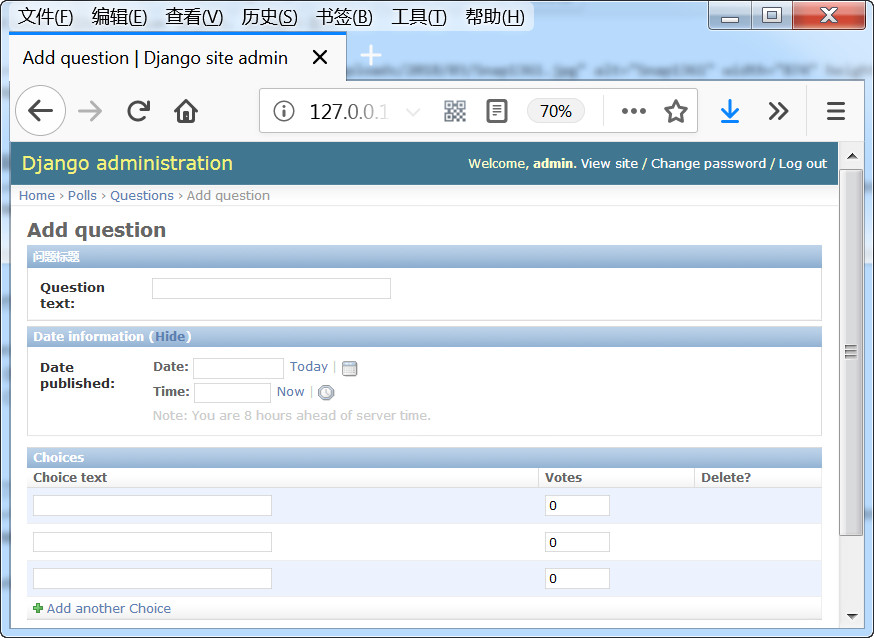
而下面的代码就是控制添加时的字段显示的,
 fieldsets = [
        (None,               {'fields': ['question_text']}),
        ('Date information', {'fields': ['pub_date'], 'classes': ['collapse']}),
    ]
由于使用了collapse,下面红色区域默认是hide的。
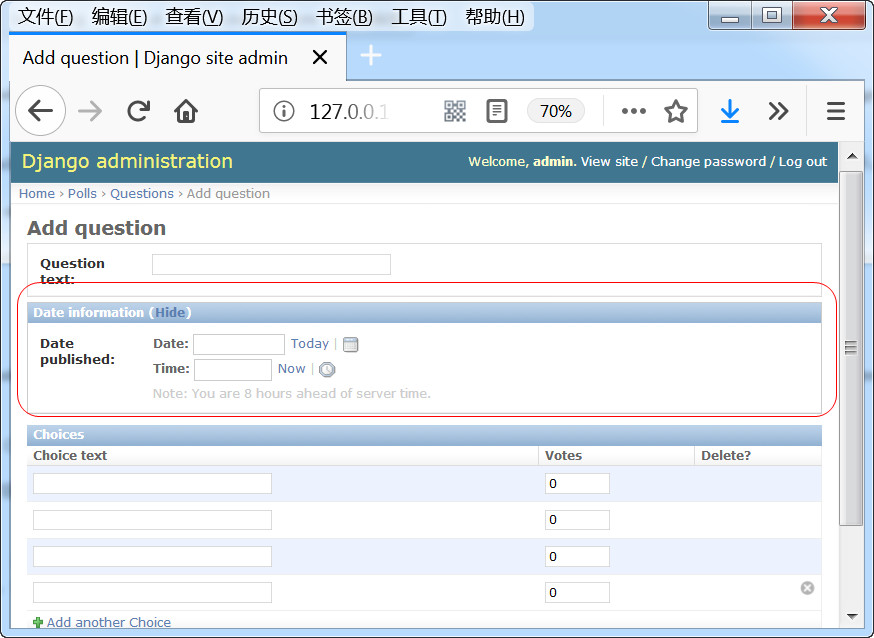
'Date information'就是区块的标题,第一个区块设置为none,所以没有标题,如果我们设定为“问题标题”,它就会在后台显示: