一、准备
google colab账户
https://huggingface.co/账户(rbayes_pK142tms)
二、复制代码
将官方的代码复制到自己的google driver
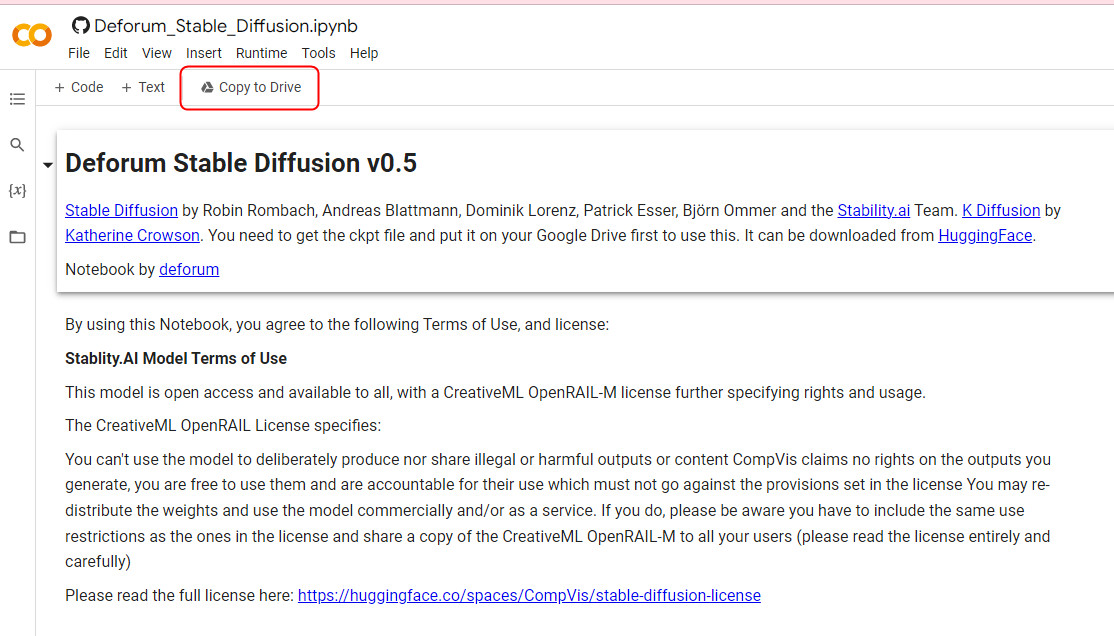
复制成功后会开启一个新的浏览窗口,你之后在新的浏览窗口中操作即可。
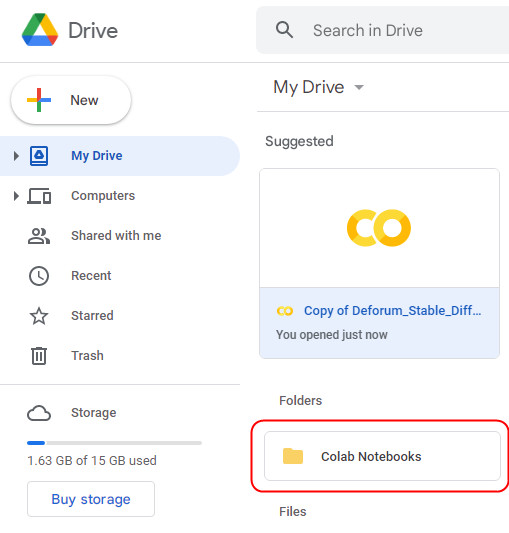
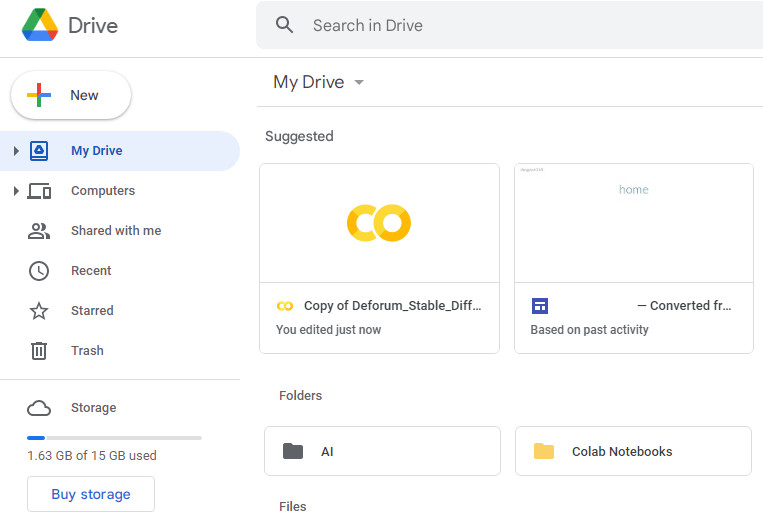
复制成功后,进入到你的google driver可以发现多了一个文件夹colab notebooks。
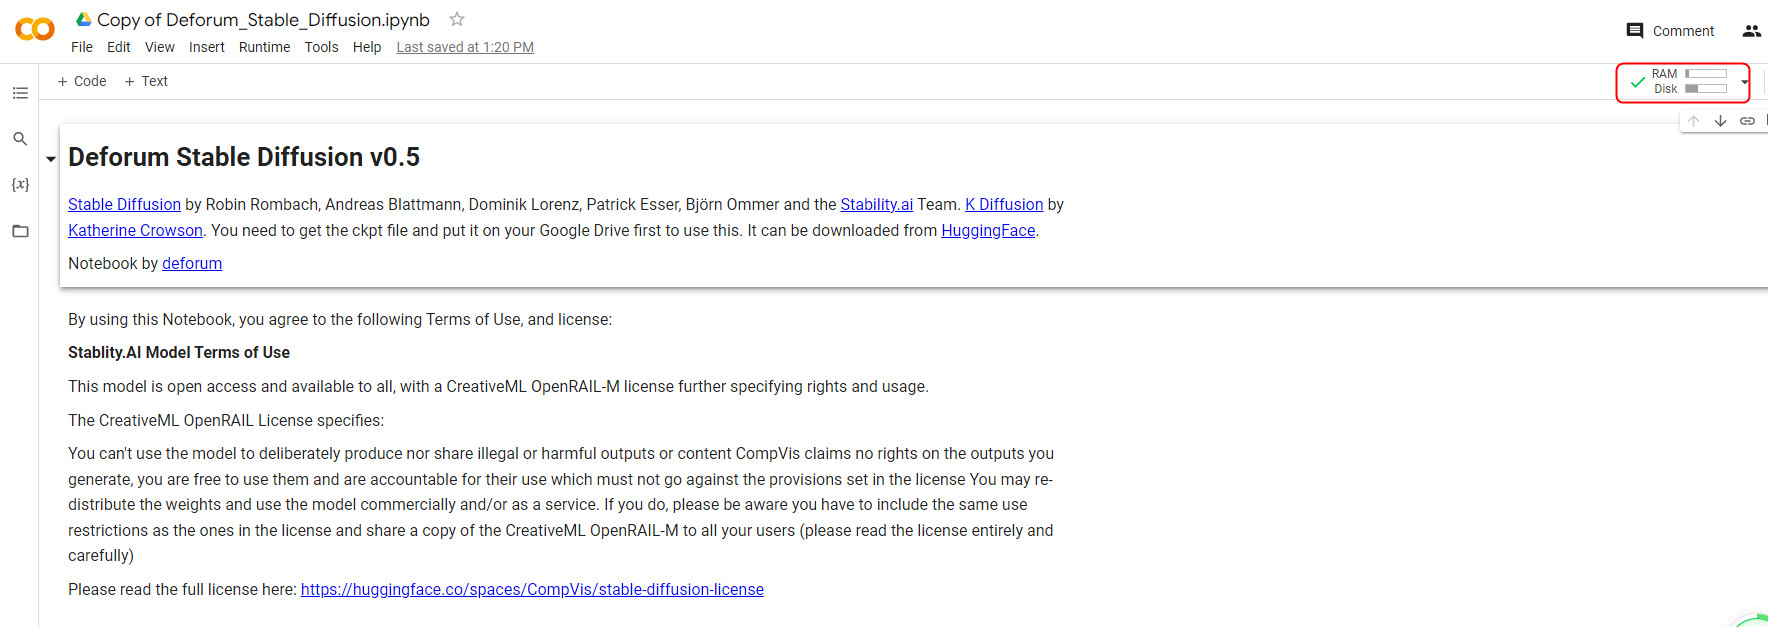
三、连接google colab
点击右上解的“connecting”进行连接,连接成功后就显示成图中红框的那样。
四、连接到google driver
一步一步执行代码,会提示你连接到google driver,直接点击“connect to google driver”。
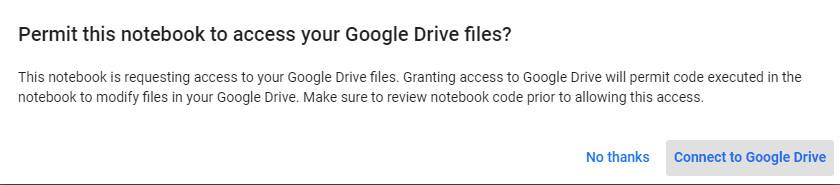
连接成功后,下面会有mounted at成功的提示,如红框所示。

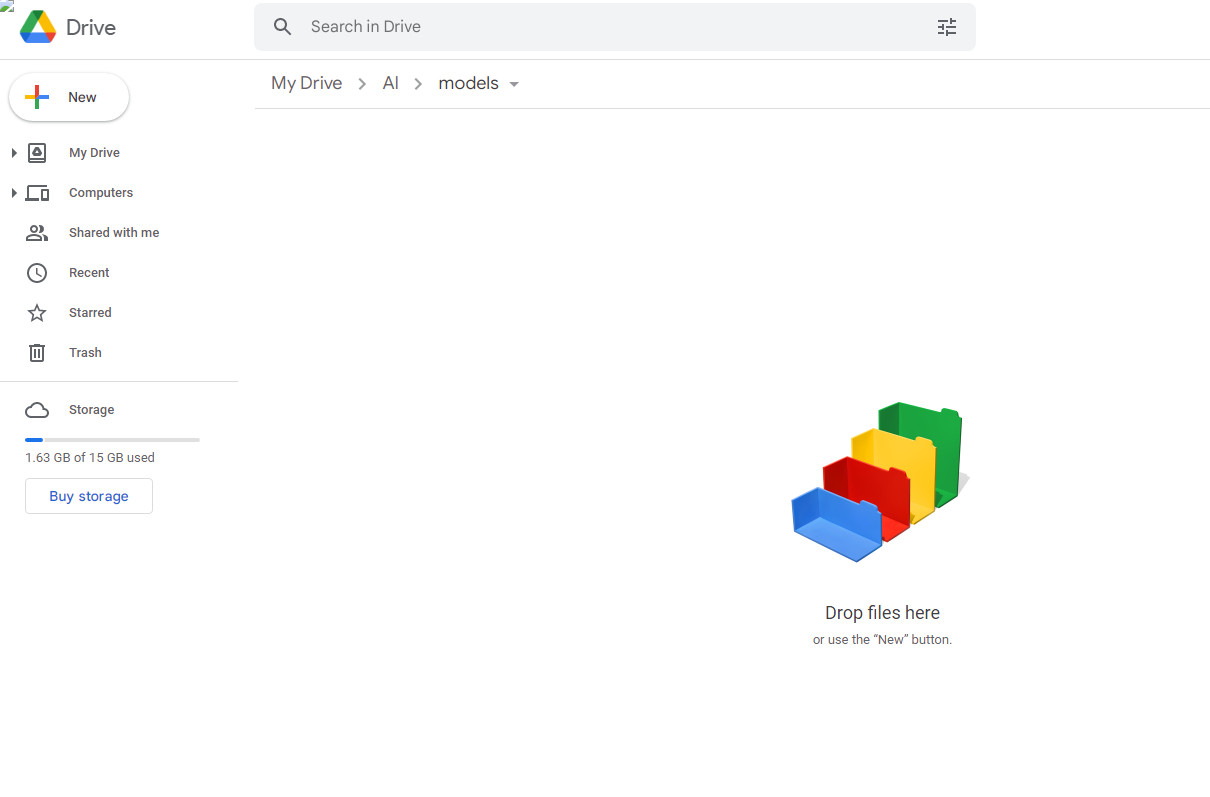
这时你再看你的google driver,发现又多了一个“AI”的文件夹。
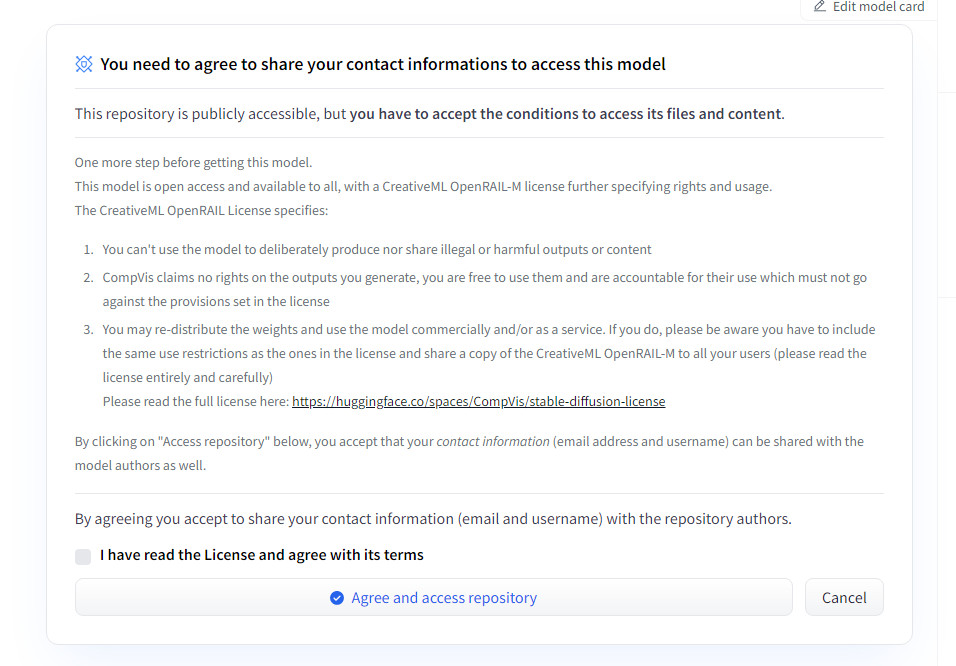
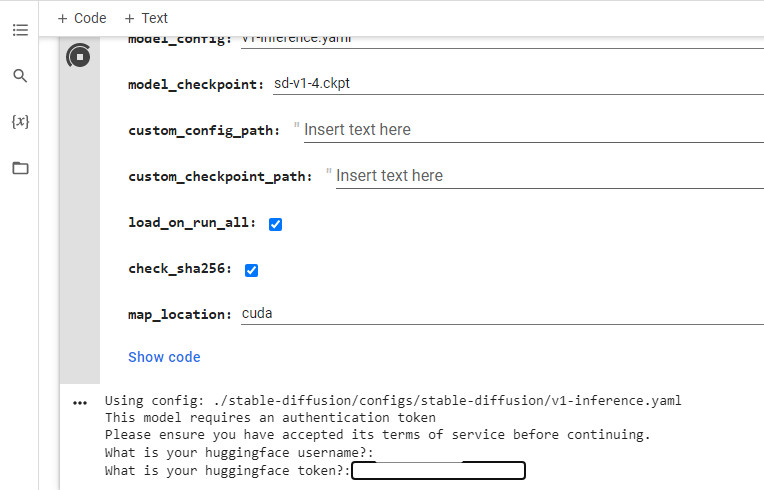
五、下载weigh文件
(一)点击“agree and access repository”
(二)下载文件
(三)上传文件
将下载的文件上传到Ai/models文件夹下面。
六、输入token
继续执行程序,这时会提示输入你的用户名和token.
(一)首先要到你的邮箱中,验证你的注册邮箱。
(二)然后生成token
登陆到https://huggingface.co/网站,在“setting-Access Tokens”那里可以生成token.

(三)再填入到上面的方框中就可以了。
七、生成动画
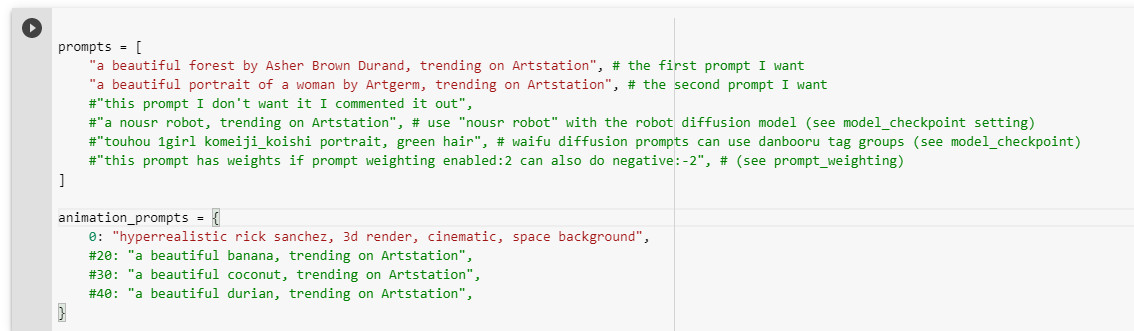
程序默认是生成图片的,所以如果要生成动画,需要作一些设定。
(一)修改prompt
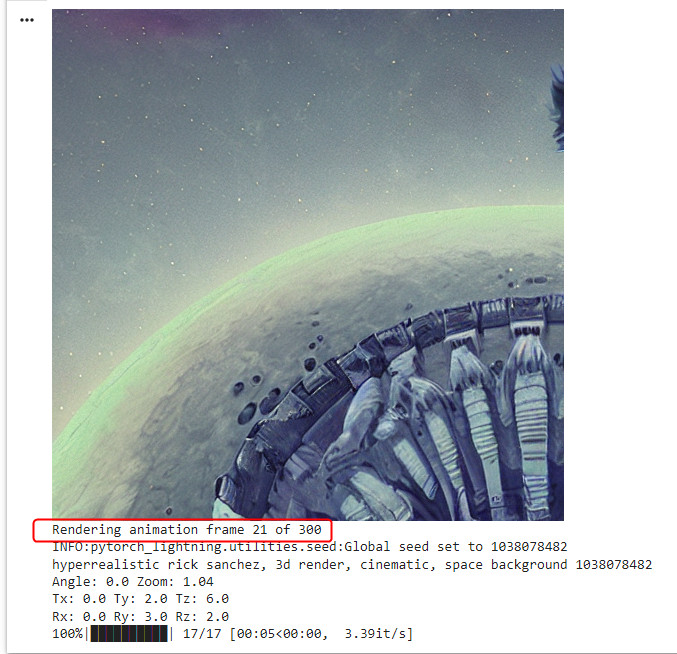
在“animation_prompts”中输入“hyperrealistic rick sanchez, 3d render, cinematic, space background”。
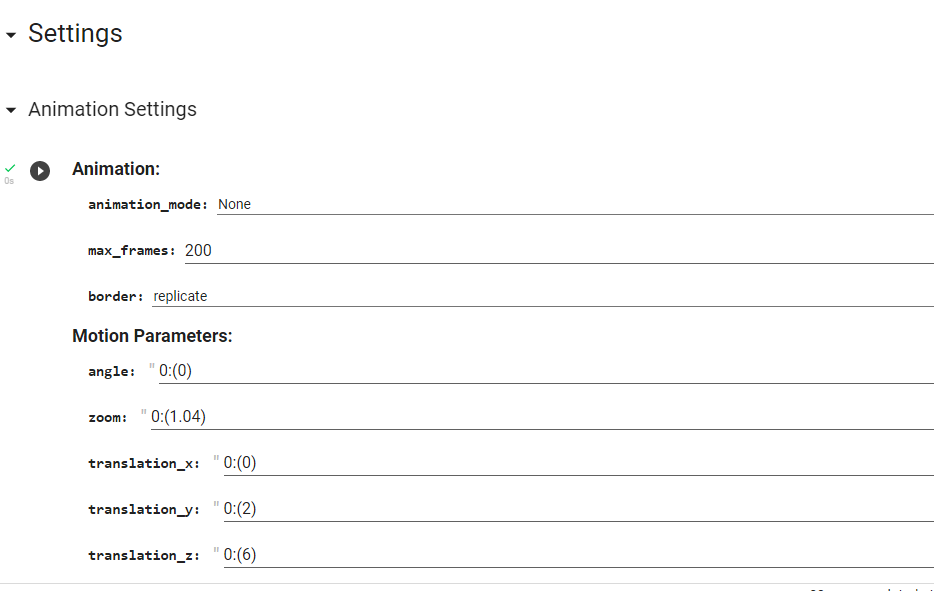
(二)animation_mode为3D,设定max_frames为300,设定x, y, z的值。
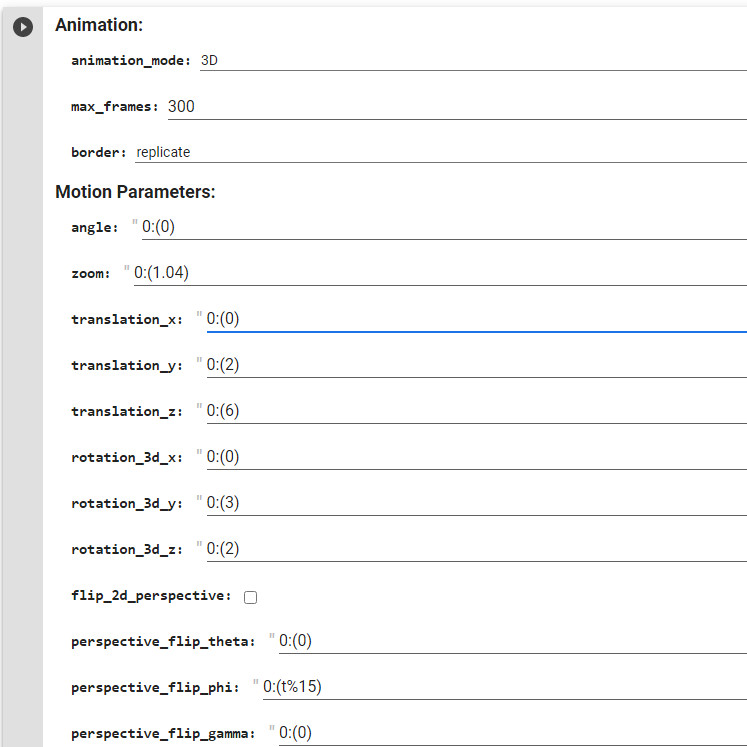
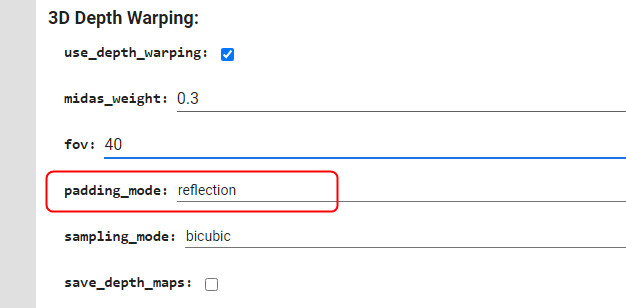
(三)设定padding_mode
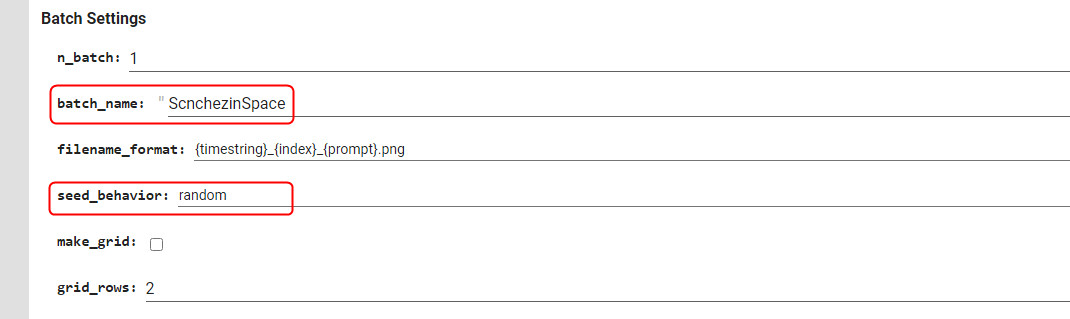
(四)设定batch_name、seed_behavior
(五)然后再执行就可以了。可以看到视频每一帧在生成中。
八、解决ValueError: max() arg is an empty sequence 错误
到上面之后,所有的问题都得到解决,不过在最后一步生成动画的时候报错:
[quote]
/content/drive/MyDrive/AI/StableDiffusion/2022-09/20220903000939_%05d.png -> /content/drive/MyDrive/AI/StableDiffu'/content/drive/MyDrive/AI/StableDiffusion/2022-09/sion/2022-09/20220903000939.mp4
ValueError Traceback (most recent call last)
in
24 fname = f"{path_name_modifier}_%05d.png"
25 all_step_dirs = [os.path.join(args.outdir, d) for d in os.listdir(args.outdir) if os.path.isdir(os.path.join(args.outdir,d))]
---> 26 newest_dir = max(all_step_dirs, key=os.path.getmtime)
27 image_path = os.path.join(newest_dir, fname)
28 print(f"Reading images from {image_path}")
ValueError: max() arg is an empty sequence
[/quote]
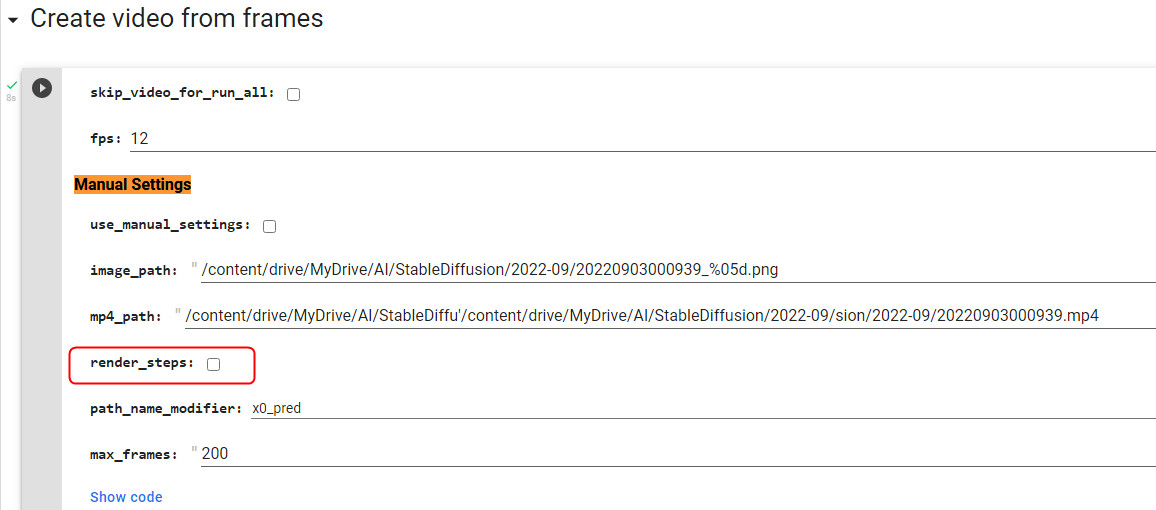
在网上找了一下,发现不要勾选“render_steps”就可以了。
九、成果展示
十、生成图片
(一)进入到自己的google lab,点击“Copy of Deforum_Stable_Diffusion.ipynb”进入编辑页面。
https://drive.google.com/drive/search?q=owner:me%20(type:application/vnd.google.colaboratory%20||%20type:application/vnd.google.colab)
(二)一路点击run
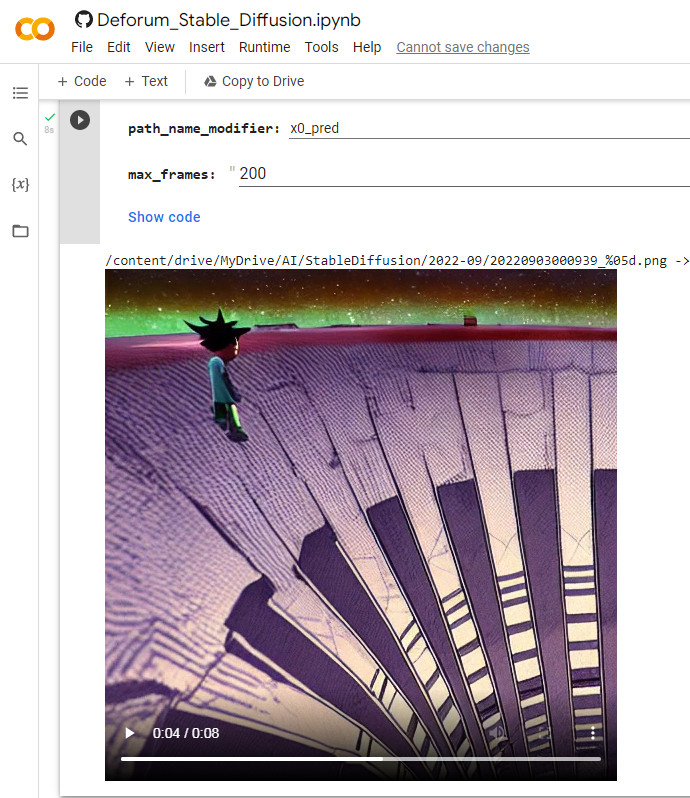
(三)将animation_mode设置为None。
(四)点一下“Prompts”、“Load settings”这两个按钮就可以了。
它的速度还挺快的。
备注:
最耗时的是#@markdown **Select and Load Model**,因为每次要重新下载几个G的东西,可以取消勾选“check sha256”
“Animation"那一步还是要点。
十二、2.0版本
https://colab.research.google.com/drive/1bwbdW4sjRUoI42gHz1G_E-YRtv9dfbyS
十三、处理错误
(一)今天运行时报如下错误:
NVIDIA-SMI has failed because it couldn't communicate with the NVIDIA
后来才发现原来没有开启GPU
You have to enable the GPU first in the Notebook settings.
You can easily do it by clicking on Edit > Notebook settings and selecting GPU as hardware accelerator.
参考资料:
https://www.youtube.com/watch?v=w_sxuDMt_V0